|
<< Click to Display Table of Contents >> Quote - Production ControlOverview |
  
|
|
<< Click to Display Table of Contents >> Quote - Production ControlOverview |
|
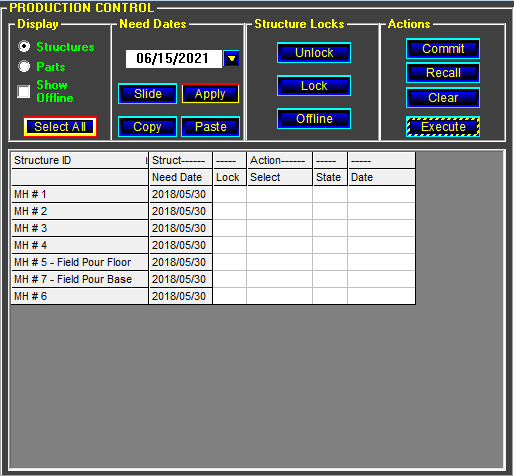
The Production Control screen is used to apply need dates to parts, lock/unlock structures, and submit/recall parts from the Production Suite factory scheduling system.
![]()
The Prod button displays the Production Control screen.
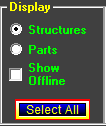 Display Controls
The Structures and Parts radio buttons switch the level of detail displayed in the grid between showing structures only and showing the parts within the structures. When the Parts level of detail is selected, additional columns are displayed with part level data such as the part's lock state and schedule status.
The Show Offline check box determines whether parts set to the Offline state are included in the grid.
Select All extends the current selection to include all visible parts in the grid. Offline parts are not selected.
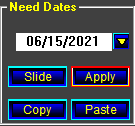 Need Dates
Need Dates are applied to structures and parts by clicking the date selector pulldown and clicking the desired date on the calendar. Then select the desired structures or parts in the grid and click the Apply button.
When the grid is in the Structures display setting, the need dates are applied to the selected structure. When the grid is set to the Parts display setting, the need dates are applied to the selected parts.
After a need date has been applied to a structure, the need date is displayed in a column on the View screen.
The Slide button moves the need date for the selected parts forward or backward in time. Clicking the button displays a dialog box to enter the number of days to add or subtract from the current need date for the parts. This makes it easy to move a project that has varying dates assigned and still maintain the date spacing.
The Copy button copies the current part names and dates to the clipboard to paste into Excel for manipulation. (Note: This copy function is different from the one described below.)
The Paste button retrieves data from the clipboard and updates the need dates on parts found in the clipboard data.
Using the Copy and Paste buttons enables more complex date setting scenarios than would be easy to do directly on the Prod scree.
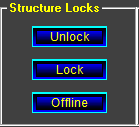 Structure Locks
Structures may be Locked, Unlocked, or set to Offline.
Locked structures can be viewed and printed, but cannot be changed on the Build or Stack screens. When an attempt is made to change a locked structure, a message will be displayed to indicate that structure is locked.
To change a locked structure, the structure must first be unlocked.
Setting a structure to Offline makes the structure if similar to locking the structure and in addition the structure may be 'hidden' from the Production control grid.
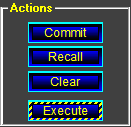 Actions
To set an action state for parts or structures, select the parts or structures in the grid, then click the desired action button.
The Commit button sets the action state for a part to be sent to the scheduling system. Only parts with a Need Date can be set to be committed to the schedule.
The Recall button sets action state for a part be recalled from the scheduling system. If parts that are not in the scheduling system are set to be recalled, the action state is ignored and cleared.
The Clear button removes any action state that has been set for a part.
The Execute button performs the action that has been set for any part, e.g. commit or recall. This is the 'Do It" button.
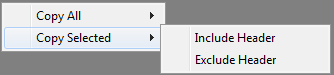
Copy Data
The information displayed in the grid is copied to the clipboard by selecting the lines to be copied and right-clicking on the selected items. A menu is displayed to select between copying the selected items or all the items. Additionally, the header row can be included or excluded from the copy operation.