|
<< Click to Display Table of Contents >> Report Layout ConfigurationStep 4 - Place the Desired Objects on the Page |
  
|
|
<< Click to Display Table of Contents >> Report Layout ConfigurationStep 4 - Place the Desired Objects on the Page |
|
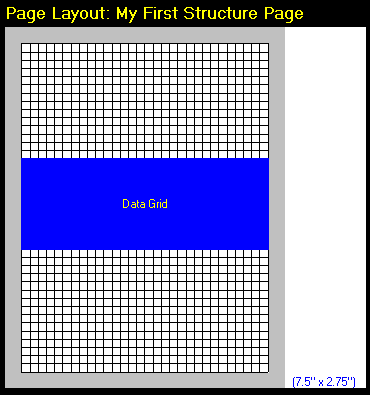
The next step is to actually place the objects onto the page. This is done by selecting an object from the Object List and then drawing it onto the page grid on the left side of the screen.
To draw an object you first hold down the left mouse button in the block that you want to be the top-left corner of the object, and then drag the mouse down and to the right to set the size of the item.
As you do this you will see a rectangle with the top-left corner where you first pressed the left mouse button, with the sides of it extending down so that the bottom-right corner will be right below the mouse pointer.
Letting up on the mouse button to finish the placement of the object, the Config Options list will become active and some choices will be listed. To move the object, click and drag again with the left mouse button. Clicking and dragging with the right mouse button will change the size of the object.